Paper airplanes are a fun and easy way to pass the time. With a little bit of practice, you can create a sleek, far-flying paper airplane that will impress your friends and family. In this guide, we’ll show you how to fold a classic paper airplane that’s both simple and effective.
Table of Contents
Materials:


- A sheet of 8.5 x 11 inch paper
- Scissors (optional)
Instructions:
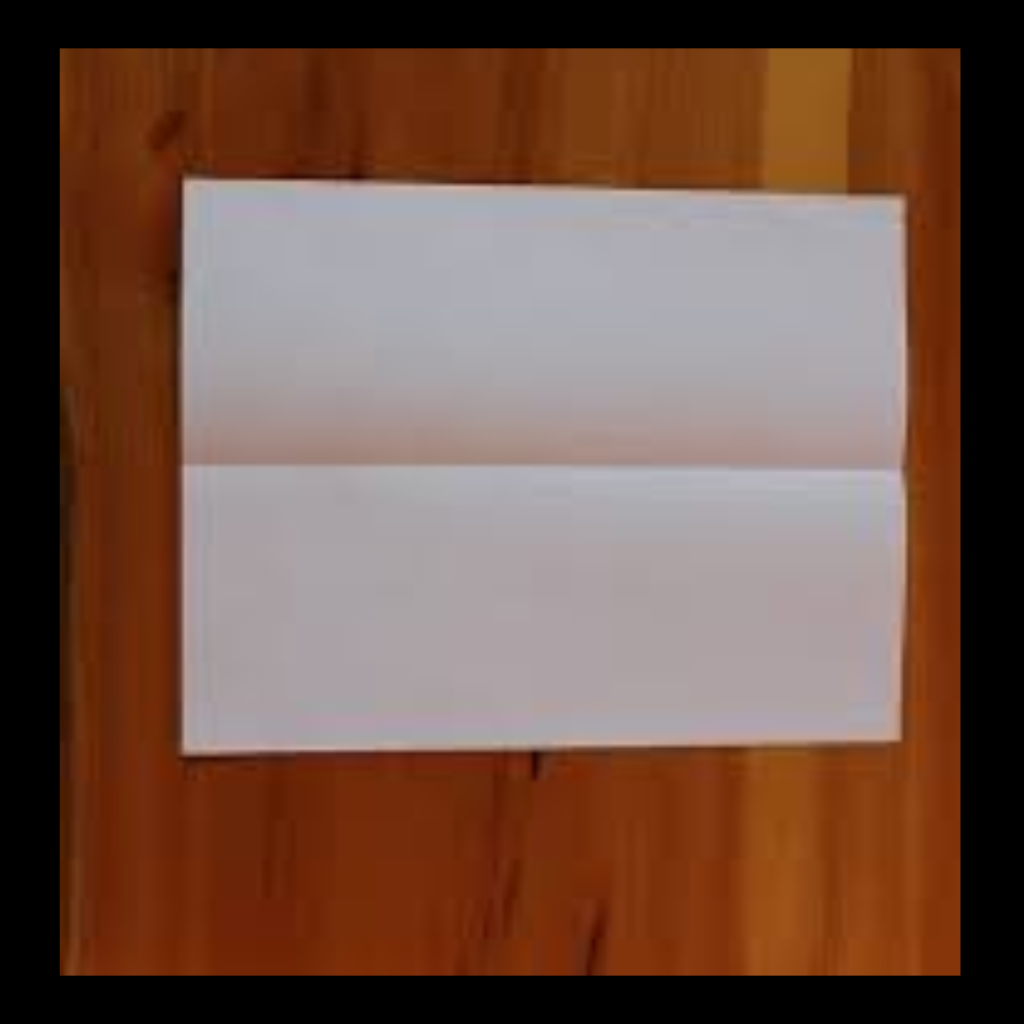
Fold the paper in half lengthwise, crease it, and then unfold it.
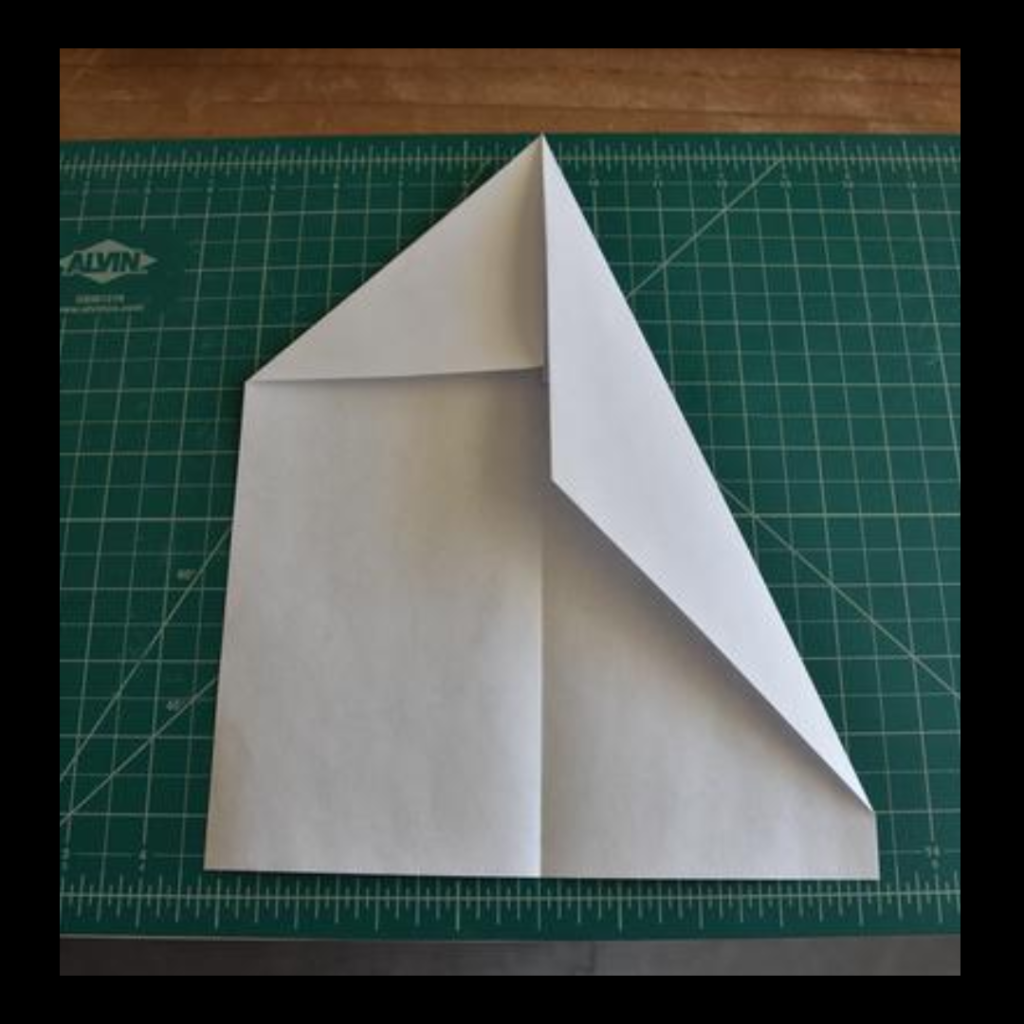
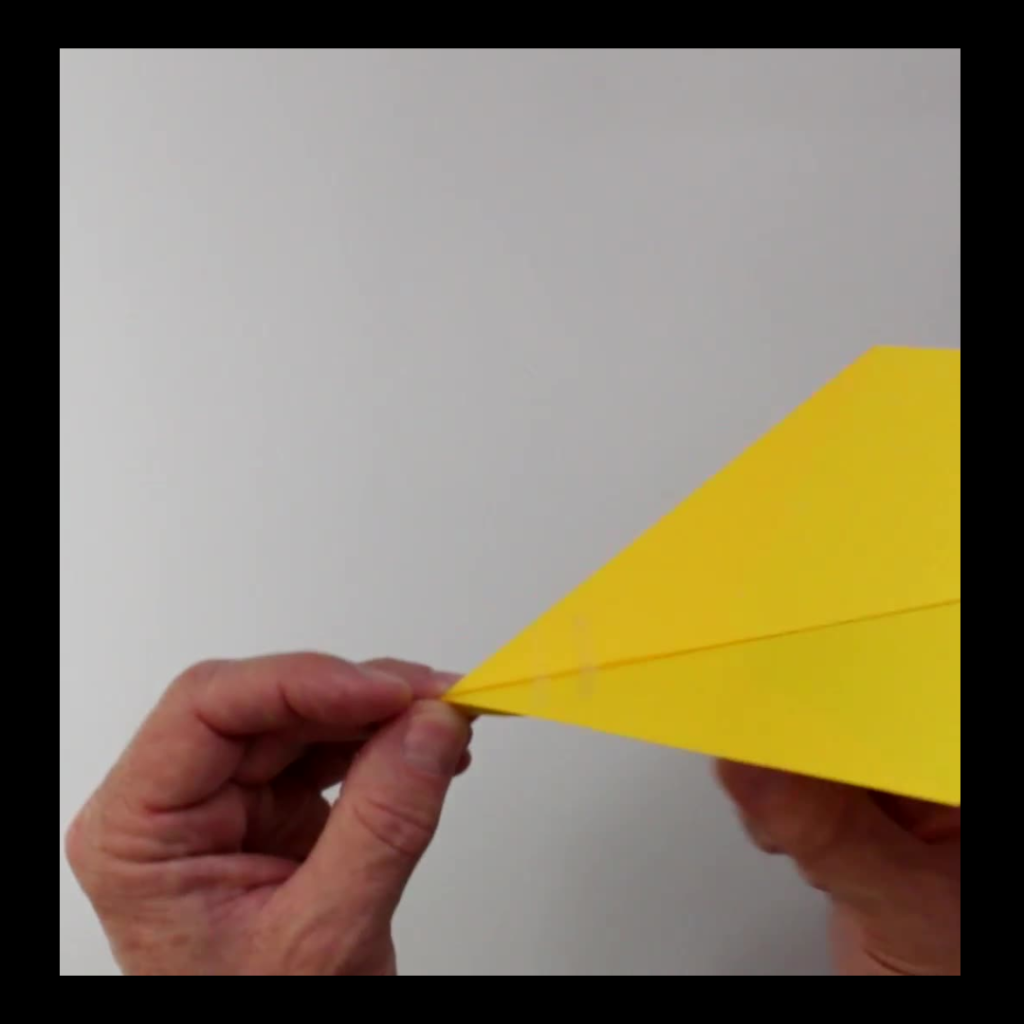
Fold the top corners of the paper down to the center crease, forming a triangle at the top.
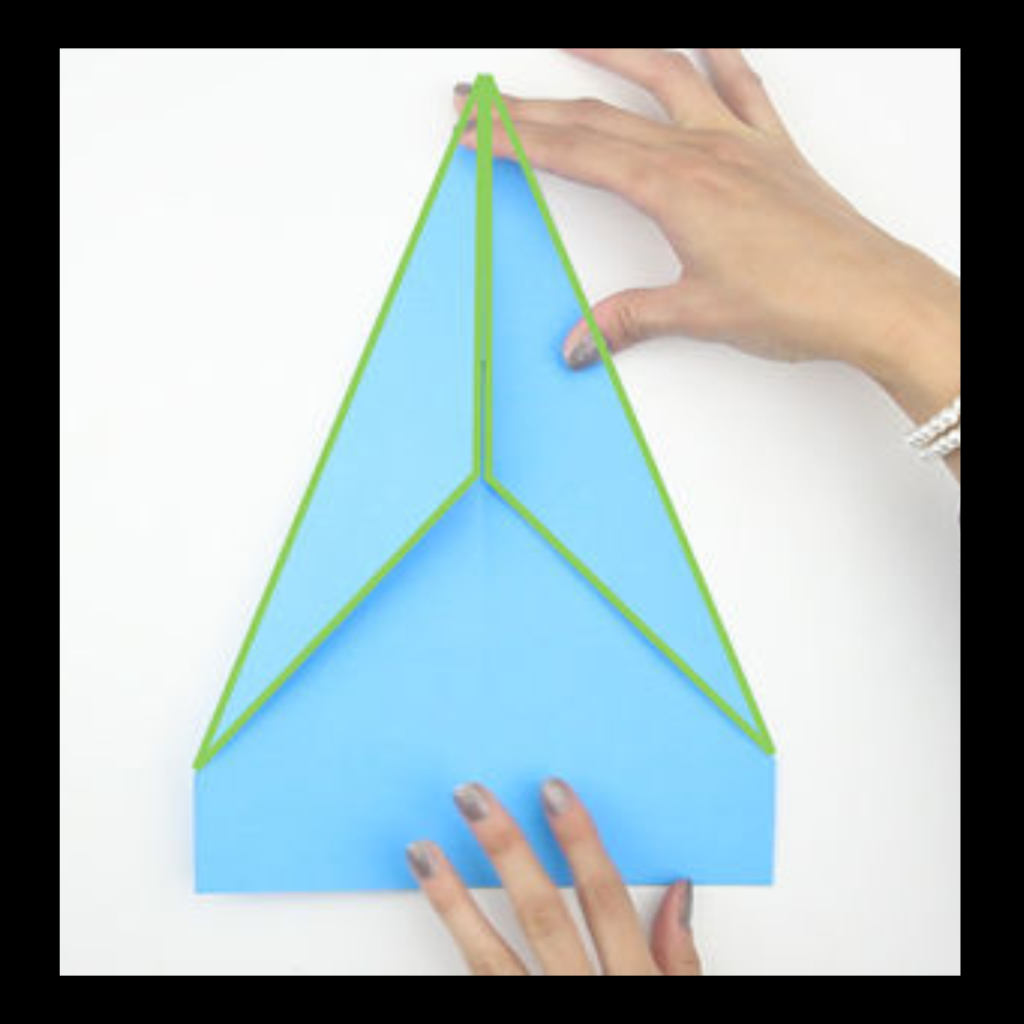
Fold the angled edges of the paper down to the center crease again, leaving about 1 cm of space between the bottom of the angled edges and the crease.

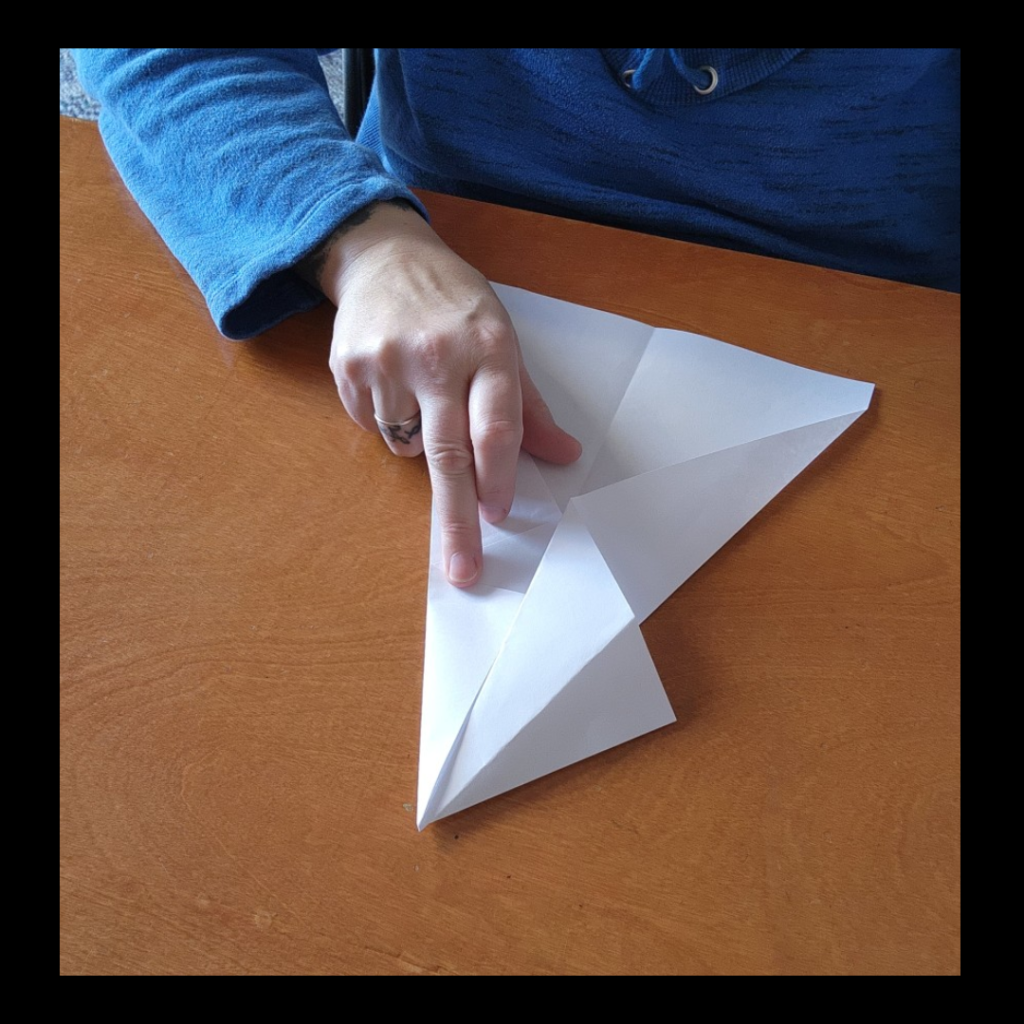
Fold the paper in half along the center crease, so that the angled edges are on the inside.
Fold the angled sides of the paper up to create the wings. Make sure the wings are symmetrical to one another so your plane stays level when you throw it.
Fold the wings down slightly so that they are parallel to the bottom of the plane.
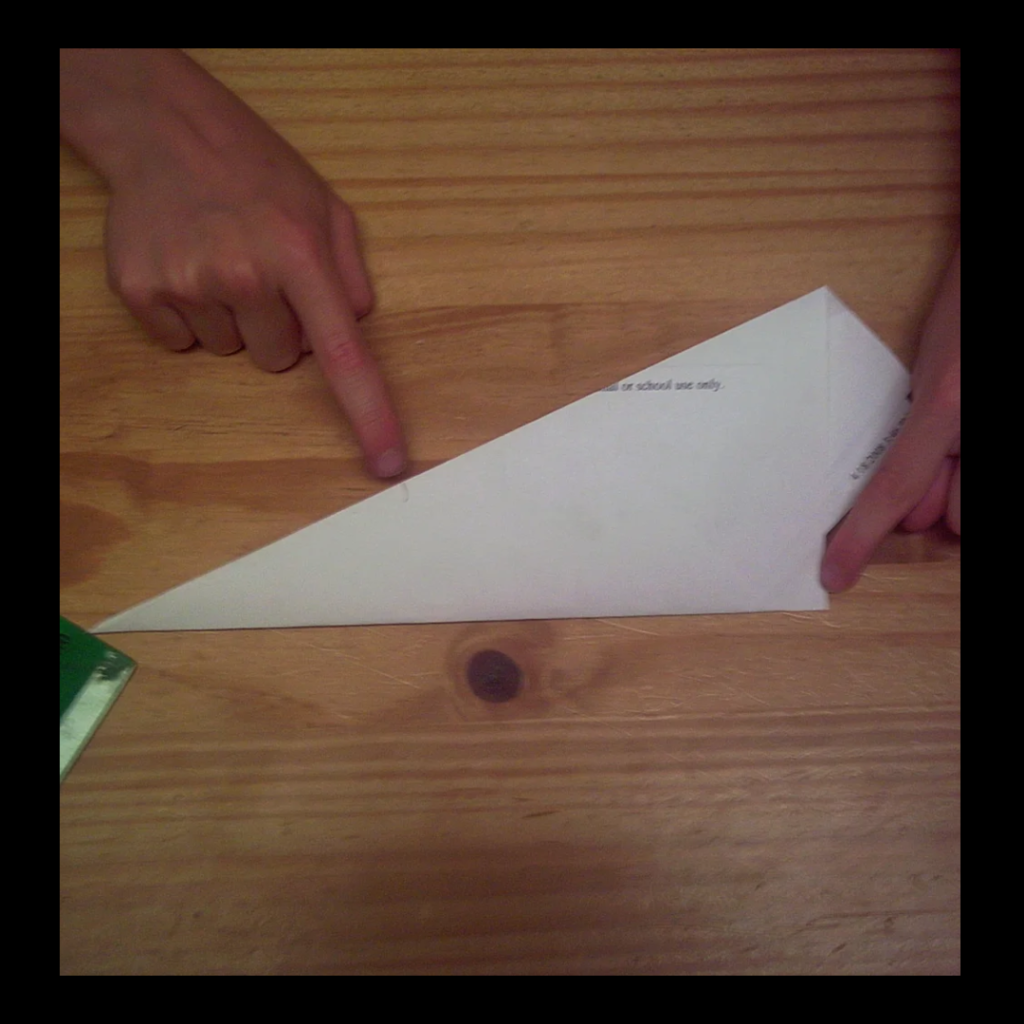
Fold the tip of the plane down about 1 inch from the top.

Fold the wings up slightly at the tips to create winglets. This will help stabilize the plane in flight.
Congratulations! You’ve just made a classic paper airplane that’s ready to fly. To launch your plane, hold it at the bottom of the fuselage (the center of the plane) and throw it gently into the air. With a little bit of practice, you’ll be able to adjust the wings and tail to make your plane fly even farther.
Here are some tips to help you get the most out of your paper airplane:
- Use a lightweight paper for your airplane. Heavy paper will make your plane fly slower and not as far.
- Experiment with different wing shapes and sizes to see what works best for your plane.
- Add weight to the nose of your plane to help it fly farther. You can use a paper clip or a small piece of tape to do this.
- Practice launching your plane at different angles to see what works best.
Also read: https://newseense.com/how-to-make-a-homemade-pizza-from-scratch/
- BJP President JP Nadda Issues Notice to Dilip Ghosh Over Controversial Remarks on Mamata Banerjee
- Ram Charan and Kiara Advani’s ‘Jaragandi’ Song from Game Changer Released
- Pre-Match Banter: Rohit Sharma’s Flying Kiss Recreation Adds Spice to MI vs SRH Clash
- Swami Smaranananda Maharaj, President of Ramakrishna Math and Ramakrishna Mission, Passes Away at 95
- Stand-up Comedian Munawar Faruqui Breaks Silence on Social Media After Mumbai Police Detention